
How to Get a House Ready for Listing Photos in San Antonio
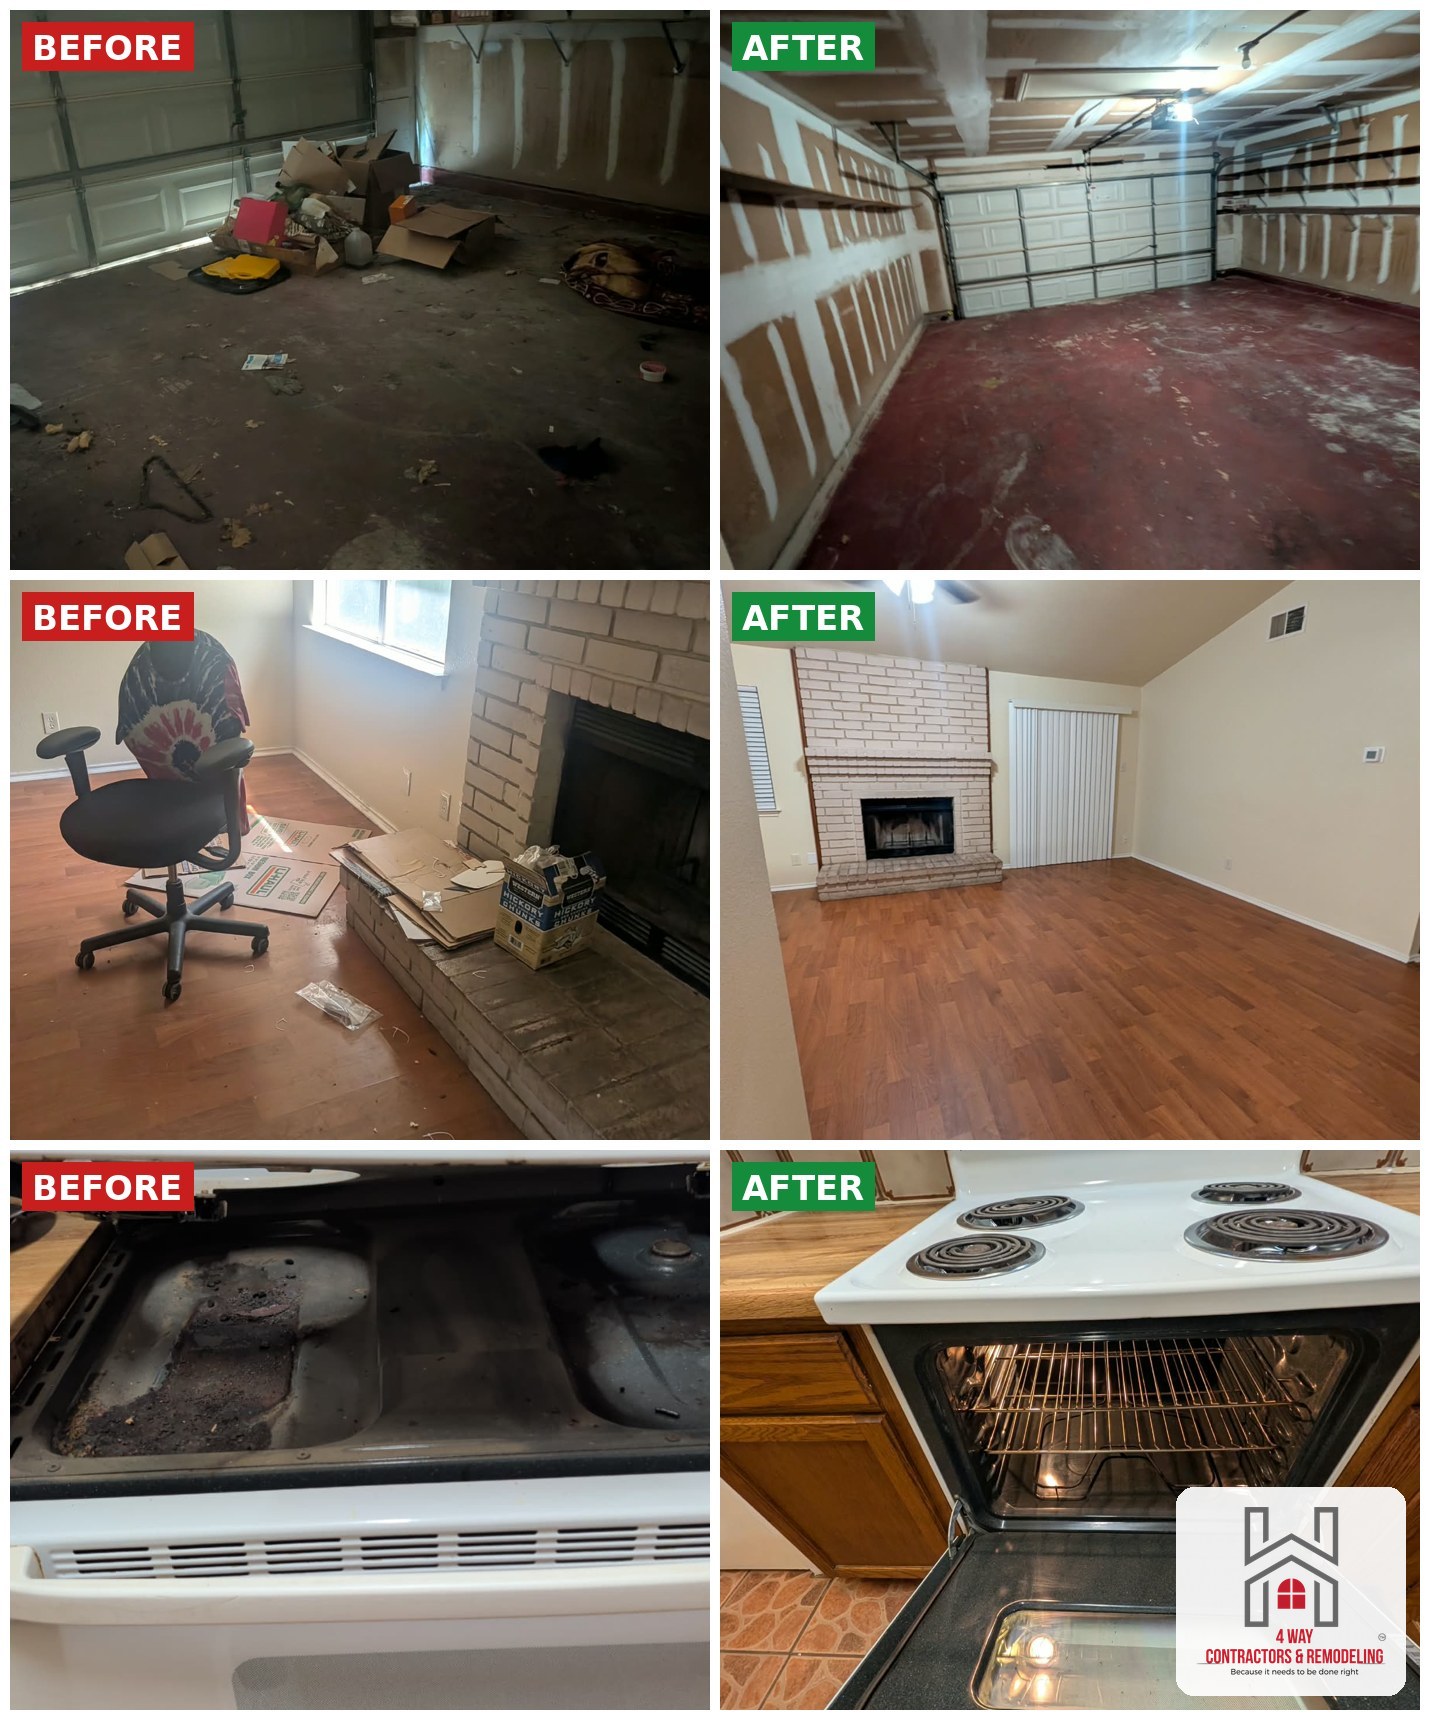
Listing photos make the first impression before a buyer ever sets foot in the house. If the pictures look dark, cluttered, or tired, people scroll right past. We work with homeowners and listing agents across San Antoni every week to get a property camera ready, and most of it comes down to the same handful of steps done right.
This isn’t about doing a quick wipe down the morning of the shoot. The best photos come from a house that has been prepped over the week before, with small repairs handled, lighting fixed, and every room cleared out so the camera can actually show the space.
Start With Decluttering, Then Fix What the Clutter Was Hiding
Once you clear counters, shelves, and closets, you start seeing things the clutter was covering up. Scuffed baseboards. A cabinet door that doesn’t sit right. A light switch plate that’s cracked. These small things show up in photos more than people expect, especially with a wide angle lens.
Room by Room Decluttering
- Clear kitchen counters down to one or two items, nothing personal on the fridge
- Pack away family photos and personal items in every room
- Empty closets to about half full so they photograph bigger
- Remove extra furniture that makes rooms look smaller
- Clear bathroom counters of toiletries and personal care items
Repairs and Paint Matter More Than People Think
A camera catches things the human eye glosses over in person. Nail holes, drywall dings, old caulk lines gone yellow, scuff marks on walls near light switches. Buyers browsing online zoom in on photos, and a wall that looks fine from six feet away can look rough up close in a listing photo.
We see this a lot with houses that have been lived in for years. The owner doesn’t notice the wear anymore because they walk past it every day. A fresh coat of paint from our painting crew on scuffed walls, trim, and doors makes a bigger difference in photos than almost anything else you can do. Light, neutral colors photograph the best and make rooms look larger and brighter on camera.
Drywall and Trim Fixes Before the Painter Shows Up
Patch holes, re-caulk gaps around trim and baseboards, and tighten up any loose fixtures before paint goes on. Doing the repairs first means the paint goes on clean and the final result holds up under camera lights.
Lighting: Match Your Bulbs Before the Shoot
This one gets missed all the time. If one lamp has a warm yellow bulb and the overhead light has a cool white bulb, the camera picks up on that color mismatch and the room looks off in photos, sometimes with a weird orange or blue tint in different corners.
Walk through the house and swap every bulb to the same color temperature, ideally a bright white or soft white depending on what looks best in that room. Replace any bulbs that are burned out or flickering. Turn on every light for the shoot, including lamps, and open blinds and curtains for natural light. A dim room photographs small and uninviting, and a well lit one photographs open and clean.
Deep Clean Windows and Floors
Dirty windows show up as streaks and haze in photos, especially with sunlight coming through. Floors take a beating from foot traffic, and scuffed or dull floors pull attention away from everything else in the shot.
What Gets the Most Attention From the Camera
- Windows inside and out, including sliding glass doors
- Baseboards and corners where dust builds up
- Hard floors mopped and buffed, carpets vacuumed with fresh lines
- Mirrors and glass shower doors free of water spots
- Ceiling fans and light fixtures wiped down
Kitchen and Bathroom Details
Kitchens and bathrooms sell houses, and they photograph more than any other rooms in the listing. Wipe down cabinet fronts, especially around handles where hands leave marks over time. Clean the inside of the oven glass and the stovetop until it shines. Polish faucets and fixtures so there’s no water spotting or soap scum.
In bathrooms, re-caulk around tubs and showers if the old caulk has gone gray or moldy. Replace any cracked outlet covers or towel bars that are loose. These are small fixes, but a buyer scrolling through photos notices a clean, tight bathroom right away.
Exterior and Yard: The First Photo Buyers See
The exterior shot is usually the first photo in the listing, and it sets the tone for everything after it. Mow the lawn, edge the walkways, and clear out any dead plants or overgrown bushes. A fresh coat of paint on the front door and trim goes a long way for curb appeal, and it’s one of the cheapest upgrades for how much it changes the photo.
Pressure wash the driveway, sidewalks, and siding if they’ve gone gray or streaky. Clear gutters of debris so they don’t show up dark and stained in the photo. Put away trash cans, hoses, and yard tools before the photographer arrives.
Timing the Shoot for the Best Light
In San Antonio, late afternoon light tends to be warm and flattering for exterior shots, while midday sun can wash out colors and create harsh shadows. If the photographer gives you a choice, late afternoon or early evening usually photographs better for the front of the house. Interior shots are more forgiving since good lighting setup matters more than time of day.
Bringing In the 4 Way Market-Ready Package for Finishing Touches
A lot of sellers and listing agents get most of the prep done themselves, then want one crew to handle the last round of repairs, touch up paint, and a deep clean before the photographer shows up. That’s exactly what our Market-Ready Package covers. Our team handles painting, drywall patches, light fixture swaps, deep cleaning, and yard cleanup, all with the same crew so you’re not juggling four different vendors in the same week.
We work with a lot of listing agents who need a property turned around fast before photos and showings start. If you’re prepping a house to sell, our sale-ready make-ready services cover the full scope from repairs through final clean, so the house is ready for the camera and ready for buyers walking through right after.
Frequently Asked Questions
How many days before the photo shoot should we start prepping?
We recommend starting about a week out. That gives enough time for paint to dry, repairs to get done properly, and a final deep clean right before the photographer arrives without feeling rushed.
Do you handle both the repairs and the cleaning, or just one or the other?
Our team handles both. One crew does the painting, drywall, handyman repairs, and the deep cleaning, so you’re not coordinating separate contractors for each part of the prep.
What if the house needs more than light touch up work before it’s ready?
That’s common, especially with rental properties or homes that have been lived in a long time. We walk the property first, then give you one firm price for everything it needs before listing, from repairs through final clean.
If you’re getting a house ready for listing photos anywhere in the San Antonio area, we’ll walk the property for free and give you one firm price within 24 hours. Reach out through our contact page or call us directly at (210) 361-1101.
Free guide
Get Your Vacant House Ready to Sell or Rent by Spring
What to fix first, what to skip, and a simple winter timeline. 8 pages, free.
Get the Free GuideRecent Posts
We Handle It All So You Don’t Have To.
Call (210) 361-1101 or request a free property walkthrough. We serve property owners, investors, Realtors, listing agents and military families across the greater San Antonio metro area.